
Maldives Data Costs, The Resort Wi-Fi Rip-Off
Look, the Maldives is incredible, but let's be frank: the cost of staying connected can be a gut punch if you're not careful. Most private island resorts charge an exorbitant daily fee for Wi-Fi access, often ranging from $15 to $30 USD per day for a connection that's usually throttled and shared among hundreds of guests. That's a minimum of $105 to $210 per week, just for basic browsing and messaging. For some perspective, that's nearly two nights in a decent guesthouse on Maafushi island, or a good chunk of your food budget for a week. I've seen travelers spend more on resort Wi-Fi than on their seaplane transfer, which is just bonkers.
My last trip, an 8-day stint split between an overwater bungalow in the South Ari Atoll and a few nights near Male, cost me a total of €280 for data. That includes a few video calls, plenty of Instagram uploads, and constant WhatsApp messaging. The resort was charging €25/day for Wi-Fi, which would have put me at €200 for a far inferior experience. The math is simple: €280 total spent on a personal, fast, reliable connection versus €200 for a slow, shared, resort-controlled one. The value is clear, especially when you consider how much more data you actually get.

The Hidden Costs of Resort Wi-Fi and Why It Fails
Beyond the sticker price, resort Wi-Fi comes with hidden frustrations. Bandwidth is often shared, leading to painfully slow speeds during peak times, like evening calls back home or when everyone's trying to upload their sunset photos. Ever tried streaming a movie on a resort's 'premium' Wi-Fi? It's usually a buffering nightmare. Moreover, you're typically confined to specific areas for decent signal, meaning your overwater bungalow might have patchy service, or you're stuck in the lobby trying to get a signal. This isn't the seamless, 'always-on' experience we've come to expect, especially when you're paying top dollar for it.
Think about it: you want to share that incredible snorkeling video instantly, check flight updates on the fly, or even just look up the next day's weather without having to trek to the main reception building. Relying on resort Wi-Fi means you're at their mercy, often paying a premium for a subpar service that actively restricts your freedom to connect. It feels like a throwback to the early 2000s, honestly.
What is an eSIM and Why is it Key for the Maldives?
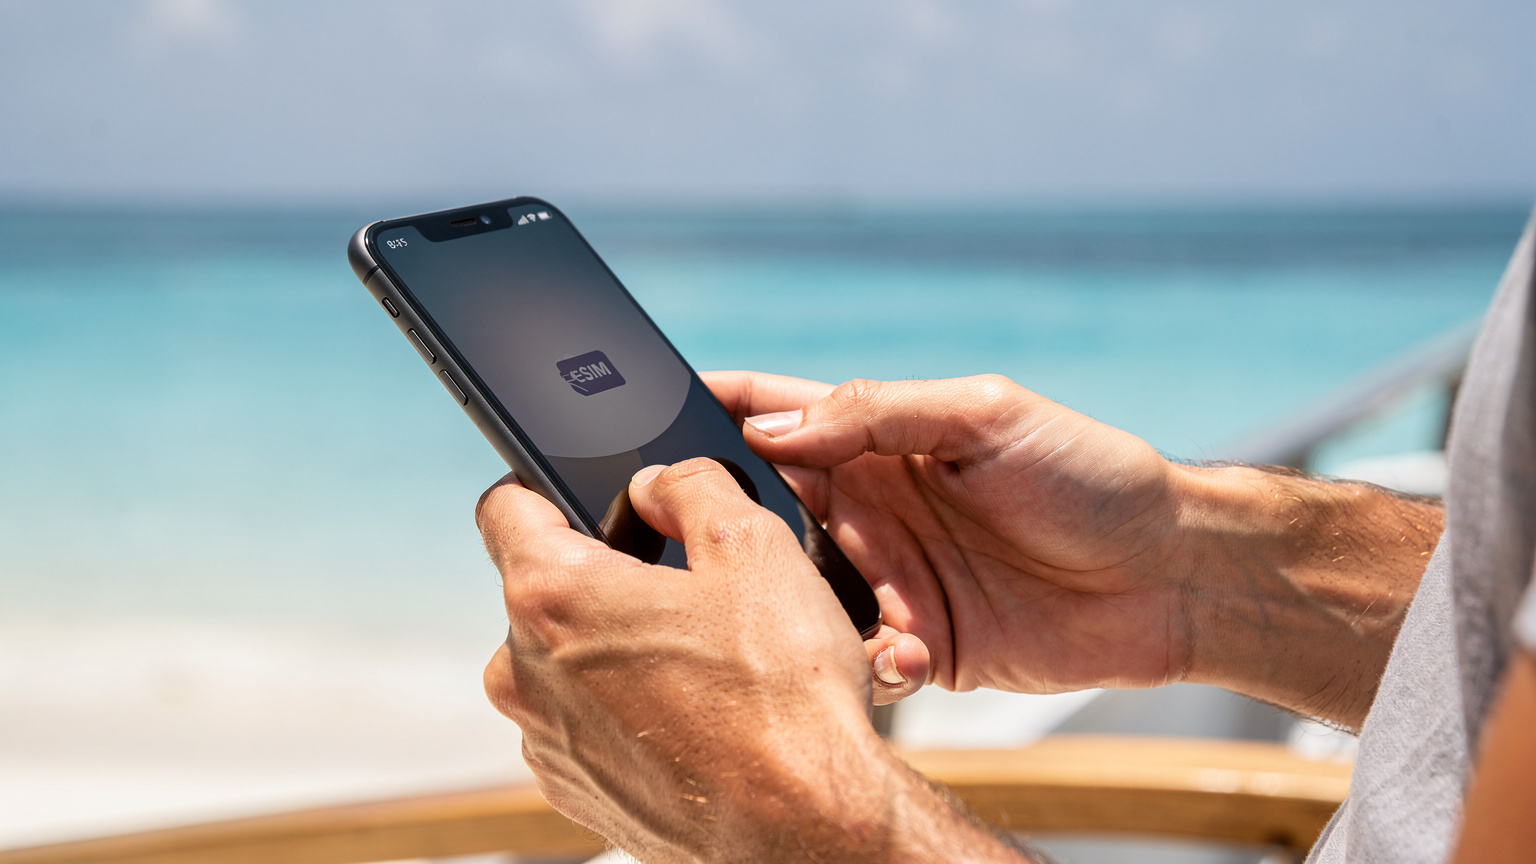
An eSIM, or embedded SIM, is essentially a digital SIM card. Instead of slotting a physical piece of plastic into your phone, the eSIM profile is downloaded directly to your device. Most modern smartphones, particularly iPhones (since the iPhone XS) and many Android flagships, are eSIM compatible. This technology is a game-changer for international travel, especially to a destination like the Maldives, where physical SIM card acquisition can be a hassle.
For the Maldives, an eSIM means you can purchase and activate your data plan before you even leave home. Imagine landing at Velana International Airport (MLE), stepping off your seaplane or speedboat onto your private island, and already being connected. No hunting for local SIM card vendors, no dealing with language barriers, and crucially, no waiting around when you're itching to share that first glimpse of paradise. It’s about being connected from the moment you land, not an hour or a day later.
The Connectivity Advantage on Remote Islands
The Maldives is a nation of scattered islands, and while the main inhabited islands have local telecom shops, private resorts are often far from these. Travel to a local island just to buy a SIM card is usually not an option, given the resort's private transfer logistics and costs. An eSIM bypasses this entirely. Your data plan is active and ready, leveraging the existing cellular infrastructure provided by local carriers like Dhiraagu or Ooredoo, which usually offer excellent coverage even to the more remote resort islands. I've had solid 4G, sometimes even 5G, on some of the smallest atolls, often better than the resort's own Wi-Fi.
It's similar to the convenience of an eSIM for navigating New Zealand's Fjordland, where local options are scarce, or even for staying connected on a cruise ship, where ship Wi-Fi is notoriously bad. The key is pre-planning your connectivity.
eSIM vs. Local SIM Card, The Island Logistics
For fairness, let's talk about local SIM cards. You can certainly get one from either Dhiraagu or Ooredoo upon arrival at MLE. They have counters right in the arrivals hall. A Dhiraagu tourist SIM for 15 days with 17GB of data might cost you around 350 MVR (roughly €20-22). Ooredoo offers similar packages. These are generally good value.
However, there's a catch for private island travelers. Your resort often arranges a direct seaplane or speedboat transfer from the airport to your island. You might not have much time, if any, to stop at the SIM counter. Customs, baggage claim, then directly to your transfer lounge. It's a tight turnaround, designed for efficiency, not for dawdling at telecom kiosks. I've personally seen people miss their seaplane slot because they were trying to sort out a physical SIM, leading to hours of waiting for the next flight, which is not what you want after a long international journey. This is where the eSIM truly shines, especially for those on a tight schedule or heading straight to a distant atoll. No physical interaction needed, just a few taps on your phone.
The Cost Comparison, A Clearer Picture
Let's break down the real costs for a typical 7-day trip:
| Connectivity Option | Estimated Cost (7 Days) | Pros | Cons |
|---|---|---|---|
| Resort Wi-Fi | €105 - €210 | Convenient, no setup required (if it works) | Expensive, often slow and unreliable, limited coverage, no data on transfers |
| Local Physical SIM (Dhiraagu/Ooredoo) | €20 - €30 (+ taxi/transfer time) | Good value for data, reliable local network | Requires airport stop, potential transfer delays, hassle with installation, phone must be unlocked |
| eSIM (Global/Regional) | €25 - €60 | Activate before arrival, instant connectivity, flexible plans, reliable network, no physical SIM | Requires eSIM-compatible phone, initial setup may feel daunting for some |
As you can see, the eSIM offers the best balance of convenience and cost, especially when factoring in the value of your time and the desire for immediate connection upon arrival. For me, that's a no-brainer. I'd rather spend an extra €10-20 on an eSIM than stress about missing my seaplane or being without data until I get to my island.
Choosing the Right eSIM Plan for Your Maldives Trip
Selecting the right eSIM plan depends on your data usage habits and the length of your stay. Are you a heavy streamer, or do you just need WhatsApp and basic browsing? Will you be taking advantage of an unlimited eSIM for remote work, or is it purely for leisure?
Here's a breakdown of data consumption benchmarks:
- Light User (1-2 GB per week): Primarily messaging (WhatsApp, iMessage), checking emails, light social media.
- Moderate User (5-10 GB per week): Regular social media, some photo uploads, occasional video calls, light streaming.
- Heavy User (15+ GB per week): Frequent video calls, extensive social media, lots of photo/video uploads, streaming high-definition content, tethering other devices.
On my last trip, I averaged about 1.5 GB per day. Multiply that by 8 days, and you get 12 GB. So, a 15 GB plan would have been perfect, giving me a buffer. Knowing your typical usage is key to avoiding overpaying or, worse, running out of data mid-trip.
Local Maldives eSIMs vs. Regional/Global Plans
When looking for an eSIM for the Maldives, you'll generally find two types: those specifically for the Maldives (using local carriers like Dhiraagu or Ooredoo) and broader Asian or global plans that include the Maldives. For most travelers, a dedicated Maldives eSIM plan will offer better value and more reliable local speeds.
However, if you're doing a multi-country trip, perhaps combining the Maldives with a stopover in Dubai or Sri Lanka, a regional Asia plan might make sense. Just ensure the Maldives is explicitly covered and check the data allowance per country, as some regional plans have caveats.
Top eSIM Providers for the Maldives
While I can't name specific brands, look for providers that partner directly with Dhiraagu or Ooredoo for the best coverage and speed. Check their reviews for reliability, especially concerning activation and customer support. I always prioritize providers that offer transparent pricing and clear instructions. A quick search for "Maldives eSIM" will give you several reputable options. Always verify the data allowance, validity period, and whether it includes calling/SMS (most data-only eSIMs do not, but WhatsApp calls are usually sufficient).
Activating Your Maldives eSIM, A Step-by-Step Guide
Activating an eSIM is straightforward, but doing it right before you travel is crucial. I always recommend activating it in your home country before departure, usually while connected to reliable Wi-Fi. This avoids any last-minute stress at the airport or, worse, on your resort island.
- Purchase Your eSIM Plan: Go to the provider's website, select your Maldives plan (e.g., Maldives eSIM), and complete the purchase. You'll usually receive a QR code via email.
- Ensure Phone Compatibility: Double-check that your phone supports eSIMs and is unlocked. If you bought your phone directly from a carrier, it might be locked to that network.
- Install the eSIM (While on Wi-Fi): Go to your phone's settings. For iPhone, navigate to Settings > Cellular/Mobile Data > Add eSIM. Choose 'Use QR Code' and scan the code from your email. For Android, it's typically Settings > Network & Internet > SIMs > Add more. Follow the prompts.
- Label Your eSIM: Once installed, label it something clear, like "Maldives eSIM," to easily distinguish it from your primary SIM.
- Delay Activation Until Arrival: Most eSIMs can be installed but not activated immediately. Your data plan typically starts when it connects to a supported network in the destination country. Check the provider's instructions for exact activation triggers.
- Arrive in Maldives, Switch to eSIM: Once you land at MLE, or arrive at your resort, go to your phone's Cellular/Mobile Data settings. Turn off your primary SIM's data roaming to avoid unexpected charges, and then select your "Maldives eSIM" as your primary data line. Ensure Data Roaming is ON for the eSIM (this is normal for eSIMs and won't incur extra charges with a valid plan).
This pre-emptive setup saves you from potential headaches. I once landed in Marrakech and watched someone struggle with a physical SIM for an hour at the airport. My eSIM was active before the plane even touched down, ready to go. You can get similar seamlessness in the Maldives, avoiding the scramble at MLE airport.
iOS vs. Android eSIM Setup Differences
While the general steps are similar, there are minor UI differences:
- iOS (iPhone): Apple's eSIM setup is notoriously smooth. The 'Add eSIM' option is prominent, and scanning the QR code is usually flawless. You can easily manage which SIM is used for data, calls, and messages.
- Android: Android interfaces vary slightly by manufacturer (Samsung, Google Pixel, OnePlus, etc.). Look for 'SIM card manager,' 'Mobile network,' or 'Connections' in your settings. The process is similar, but the exact wording might differ. Always ensure your device is running the latest OS update for the best eSIM performance.
Staying Connected Beyond Your Private Island, Excursions and Transfers
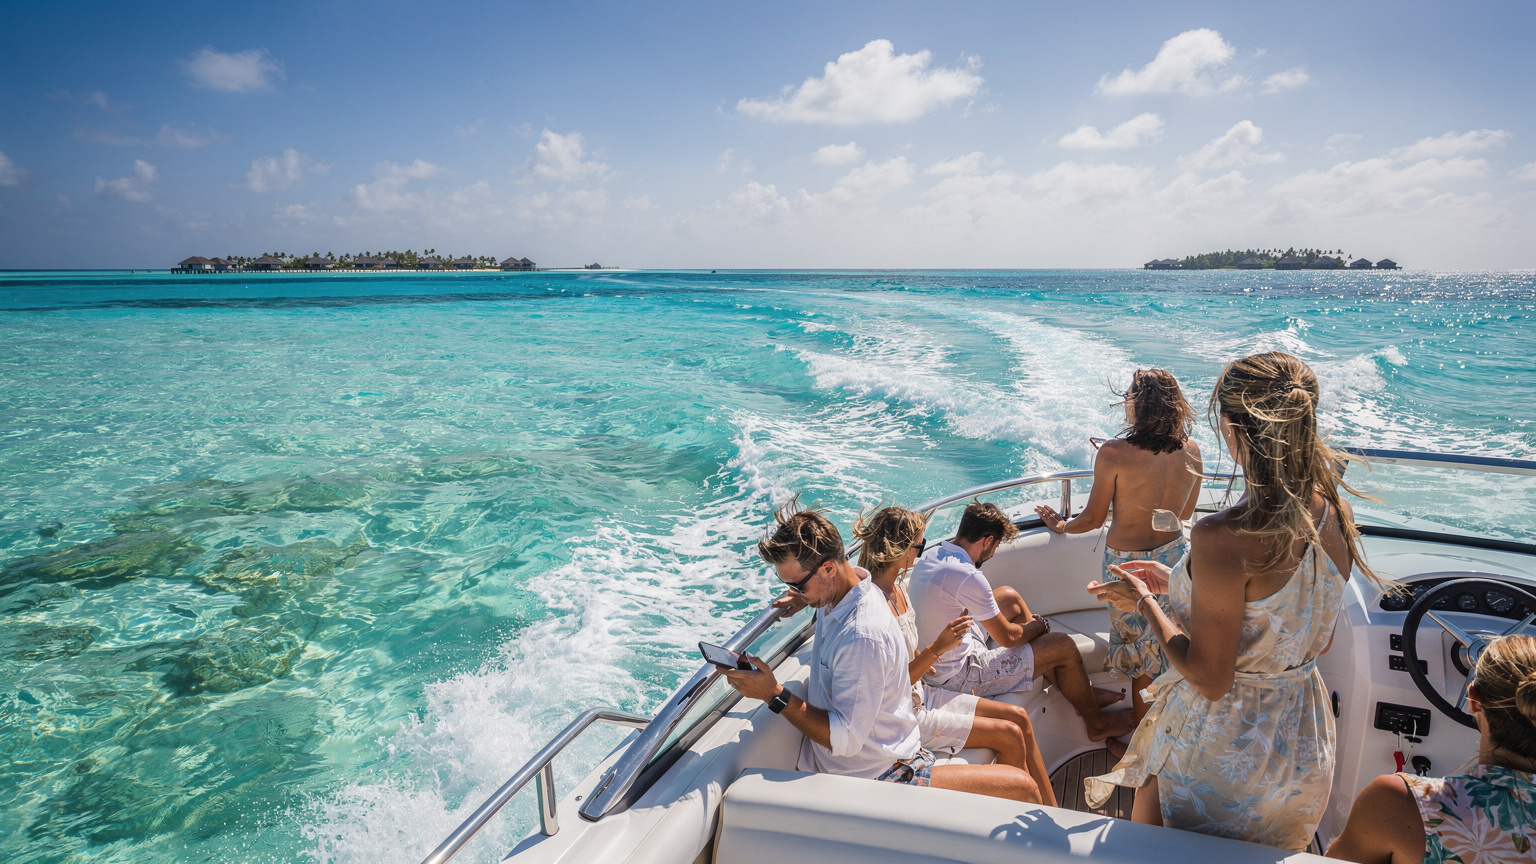
One of the biggest advantages of having your own eSIM data is uninterrupted connectivity during transfers and excursions. When you're traveling from MLE to your resort via seaplane or speedboat, or taking a local dhoni boat for a snorkeling trip, resort Wi-Fi is obviously non-existent. This is precisely when you might need data the most, whether it's for tracking your transfer on Google Maps, looking up marine life, or just sharing that stunning view of the atolls from above.
During a trip to a local island for a cultural visit, having independent data means you can research local eateries, find souvenirs, or translate conversations without relying on patchy public Wi-Fi or, worse, asking your tour guide to share their hotspot. It's about maintaining autonomy and convenience throughout your entire Maldivian experience, not just when you're within the resort's Wi-Fi bubble.
Border Crossing and Inter-Atoll Travel with eSIM
While the Maldives doesn't involve traditional 'border crossings' between islands, the concept of maintaining connectivity as you move between different network zones or even different resorts is crucial. With a well-chosen eSIM, your phone will seamlessly switch between the strongest available local towers, ensuring consistent service as you hop from one atoll to another. This is a massive relief compared to repeatedly reconnecting to new resort Wi-Fi networks or waiting for a local SIM to register in a new area.
I've taken night buses across borders where the local SIM dropped out, and an eSIM kept me connected to the nearest available network. It’s similar for island hopping. The only real 'border crossing' scenario where an eSIM helps is if you're flying into the Maldives from a neighboring country and want immediate data on arrival, bypassing the need to buy a local SIM at MLE.
Troubleshooting Common eSIM Issues in the Maldives
Even with the best planning, sometimes things go sideways. Here are a few common eSIM issues you might encounter in the Maldives and how to fix them:
- No Service After Activation: Often, this is because 'Data Roaming' isn't enabled for your eSIM profile. Go to your phone's cellular settings, select your eSIM, and ensure 'Data Roaming' is toggled ON. Don't worry, with an active eSIM plan, this won't incur extra charges.
- Slow Speeds: If you have service but speeds are sluggish, try restarting your phone. Sometimes, the phone just needs to re-register with the local network. If it persists, check your eSIM provider's support pages for APN settings, though most modern eSIMs configure this automatically.
- Data Depletion: Ran out of data? Most eSIM providers allow you to top up directly through their app or website. This is why choosing a provider with a good user interface is handy.
- Accidentally Using Primary SIM: This is a classic. Double-check your phone's cellular settings to ensure your eSIM is selected for 'Cellular Data' and your primary SIM's data roaming is OFF.
When in doubt, a quick search on your eSIM provider's FAQ or a message to their customer support is your best bet. Always have screenshots of your purchase and QR code handy.
Reaching Customer Support Without Data
This is the ultimate catch-22. If your eSIM isn't working and you have no other data source, how do you contact support? This is why I always have a backup plan. Sometimes, the resort lobby Wi-Fi, however slow, can be a temporary lifeline. Or, if you're traveling with someone, they might have a working connection. For critical issues, having a printed copy of your eSIM QR code and activation instructions can save you if you need to use a different device or public Wi-Fi. Many eSIM providers also offer support via WhatsApp, which can be useful if you can grab a fleeting Wi-Fi signal.
My Personal Maldives Data Strategy, What I Spent
My last Maldives trip was for 8 days, split between a private resort and a night in a guesthouse in Male before an early flight. I opted for a regional eSIM plan that included the Maldives because I was stopping over in Colombo, Sri Lanka, for a day. This regional plan cost me €45 for 20GB of data, valid for 15 days across 10 countries. My usage in the Maldives was around 12GB for the 8 days, which worked out to roughly 1.5 GB/day. That means I spent approximately €2.25 per GB.
| Metric | Details |
|---|---|
| Trip Duration | 8 days in Maldives, 1 day stopover in Sri Lanka |
| eSIM Plan | Regional Asia Plan (20GB, 15-day validity) |
| Total Cost | €45 |
| Maldives Data Consumption | ~12GB |
| Average Daily Usage (Maldives) | ~1.5GB |
| Cost per GB (Maldives) | ~€2.25 (based on Maldives usage) |
| Resort Wi-Fi Alternative Cost | €200 (8 days x €25/day) |
Compare that €45 total for reliable, personal data to the €200 I would have paid for the resort's spotty Wi-Fi. The savings are substantial, and the peace of mind knowing I was always connected, even on speedboat transfers and during island excursions, was priceless. It allowed me to share real-time updates with family and friends, quickly look up information, and stay in touch without constantly worrying about connectivity or surprise charges. It's the kind of smart travel move that defines a seasoned backpacker, even when splurging on a resort.
Maximizing Your Data Usage
To make your data last, especially if you're on a tighter budget:
- Download Offline Maps: Use Google Maps or Maps.me to download the Maldives region before you go. This saves significant data for navigation.
- Limit Streaming: If you must stream, do it over resort Wi-Fi during off-peak hours (very early morning or late at night), or download content via Netflix/Spotify before your trip.
- Wi-Fi Assist Off: On iPhones, turn off Wi-Fi Assist (Settings > Cellular/Mobile Data, scroll to bottom). This prevents your phone from automatically switching to cellular data when Wi-Fi is weak, silently chewing through your plan.
- Background App Refresh: Disable background app refresh for non-essential apps (Settings > General > Background App Refresh).
Maldives Connectivity for Digital Nomads and Remote Workers
While the Maldives is primarily a leisure destination, the dream of working from a beach in an overwater bungalow is real for some. For digital nomads or remote workers considering a longer stay, reliable and substantial data is non-negotiable. An eSIM becomes even more critical here. You simply cannot rely on shared resort Wi-Fi for video conferences, large file uploads, or sustained work. The cost alone would be prohibitive, and the stability too risky.
For anyone serious about working remotely from the Maldives, I'd recommend looking into larger data packages or even an unlimited eSIM if available for the region. Even then, always have a backup plan, whether it's a secondary eSIM from a different provider or a local physical SIM as a fail-safe. Think of your data plan as a core utility, not a luxury. I know many who've tried to work from places like the Maldives only to be crippled by poor connectivity. Don't be one of them.
Frequently Asked Questions
Can I use my eSIM on a Maldivian seaplane or speedboat transfer?
Yes, an eSIM will work during your transfers as long as there is cellular coverage. While you might have intermittent signal in very remote stretches of ocean, both Dhiraagu and Ooredoo offer surprisingly good coverage around the atolls, meaning you'll likely have data for most of your journey.
Is it better to buy a local SIM card or an eSIM for the Maldives?
For private island resort guests, an eSIM is generally superior due to convenience. You can activate it before arrival, avoiding delays at MLE airport and ensuring immediate connectivity. Local physical SIMs are cheaper per GB, but require a stop at the airport and carry the risk of missing your pre-arranged resort transfer.
Will my resort charge me extra for using an eSIM?
No, your resort cannot charge you for using your personal eSIM. It operates independently of their Wi-Fi network, leveraging the local cellular infrastructure. You are simply using your own mobile data plan, just as you would in your home country.
What kind of data speeds can I expect with an eSIM in the Maldives?
With a good eSIM provider partnering with Dhiraagu or Ooredoo, you can expect 4G LTE speeds, and even 5G in some developed areas around Male and larger islands. Speeds are typically reliable enough for streaming, video calls, and all standard browsing, often outperforming shared resort Wi-Fi.
Can I top up my eSIM data plan if I run out in the Maldives?
Most reputable eSIM providers offer easy top-up options through their website or dedicated app. It's advisable to check this before purchasing your plan. Having this flexibility is crucial, especially for longer stays or if your data usage is higher than anticipated.
What if my phone doesn't support eSIM?
If your phone isn't eSIM compatible, your best bet is to purchase a local physical SIM card from either Dhiraagu or Ooredoo upon arrival at Velana International Airport (MLE). Be aware of potential delays for your resort transfer if you choose this option. Alternatively, a portable Wi-Fi hotspot device could be an option, but these come with their own costs and logistics.